Digital sculpture: where to begin
What digital sculpture is, which programs are worth considering, and how to begin without getting buried in software.
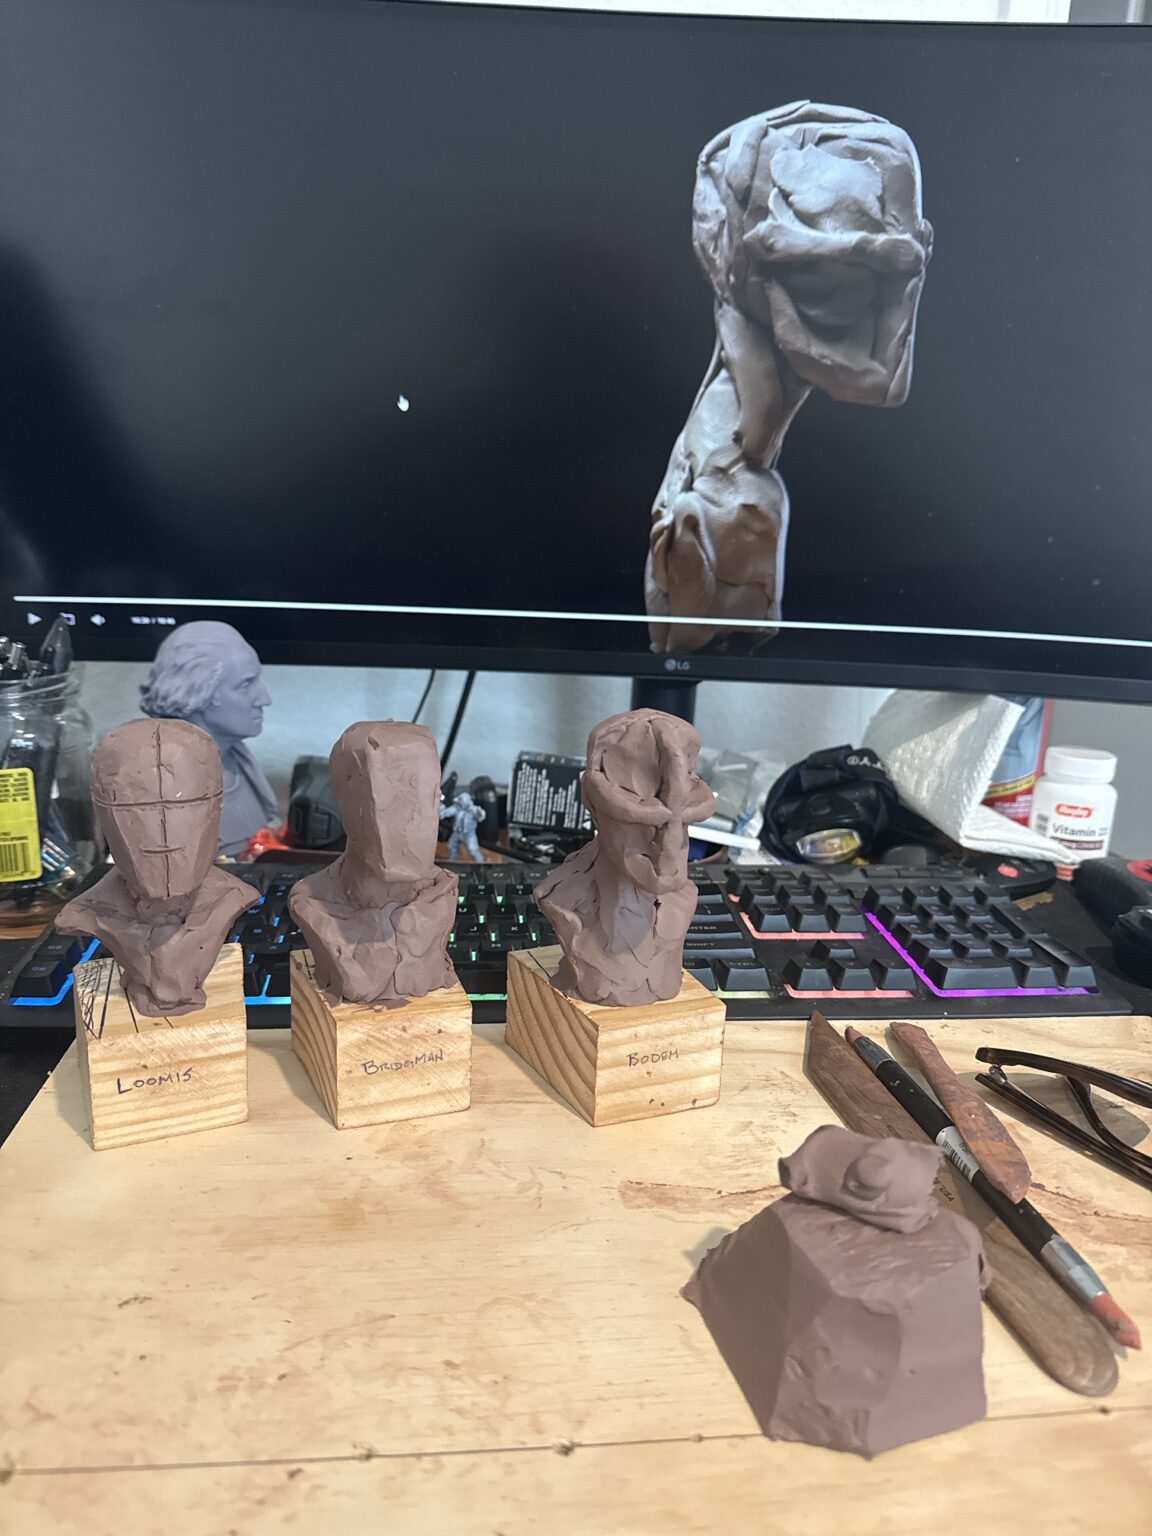
Digital sculpture uses a stylus, mouse, or touch screen to push, pull, carve, smooth, and build form in virtual material. It feels closer to working clay than traditional CAD, but the object has no gravity, scale, or material limits until you give it those things. That freedom is useful—and it is why beginners can get lost.
Choosing a program
ZBrush is the deep end: powerful, mature, and built around dense sculptural forms. Blender is free and capable, with modeling, sculpting, rendering, and animation together. Nomad Sculpt is approachable on a tablet and excellent for learning form without first learning a giant interface. Rhino, Fusion, or Plasticity may join a production workflow when exact dimensions, fittings, or fabrication geometry matter.
Do not choose by counting features. Choose the simplest tool that lets you practice consistently on hardware you already own.
A better first month
Begin with spheres, simple heads, skulls, hands, and animal studies. Learn five actions: add form, remove form, move a silhouette, smooth selectively, and rotate the model constantly. Ignore pores and wrinkles. If the piece does not read as a thumbnail, detail will not rescue it.
Study anatomy and real objects alongside the software. Save stages. Print something early, even if it is imperfect. Holding it exposes weak planes, thin areas, balance problems, and scale assumptions a screen can hide.